Recently, I came across PyAutoGUI, a cross platform Graphical User Interface automation Python module. The module allows us to programmatically control the mouse and keyboard. That means we can write scripts to automate the tasks that involved mouse movements/clicks or inputs from keyboard. To understand better let’s write a simple script that would draw a Symbol of Peace for us. If you don’t have any paint tool then you may try online for free at SumoPaint.
So before our script executes, we will have Brush tool selected. We could handle the selection of brush tool but it all depends on the position of the brush tool in Paint and it differs for various Paint softwares.
So let’s get started.
Importing required modules. Nothing cool here.
1 | import math |
Ideally, we would want to have control over our automation script even in situations when things go wrong. We could ask script to wait after every function call, giving us a short window to take control of the mouse and keyboard if something goes wrong.
This pause after each function call can be implemented by setting a certain numeric value to PAUSE constant in pyautogui module.
1 | pyautogui.PAUSE = 1 # Pause for 1 seconds after every function call |
We may also want to add an initial delay to let user select an appropriate paint tool.
1 | time.sleep(5) |
Screen size can be obtained using size method. If you observer carefully, Symbol of Peace is a big circle enclosing an inverted Y. Circular path can be traced using parametric equation. Let us assume screen center as circle center.
1 | cx, cy = pyautogui.size() # center for circle |
Mouse clicks can be implemented using pyautogui.click method. A mouse click is a combination of the two events:
- Pressing the button.
- Releasing the button.
Both combined makes one click. pyautogui.click takes x and y coordinates of the region to click upon. If these params are not passed then a click is performed at the current mouse position.
Let’s implement mouse click to focus on the paint region.
1 | pyautogui.click(x,y) |
Apart from a click, we can also drag mouse cursor. PyAutoGUI provides the pyautogui.dragTo() and pyautogui.dragRel() functions to drag the mouse cursor to a new location or a location relative to its current one. dragTo takes x and y coordinate of the final position and dragRel takes x and y coordinates and interprets it relative to the current position.
The origin lies at top-left corner of screen and the x-coordinates increase going to the right, and the y-coordinates increase going down. All coordinates are positive integers; there are no negative coordinates.
Now next few lines would create a circular path with enclosed inverted Y. The idea is to use parametric equation of circle and keep incrementing the angle until one complete revolution or 2*PI angle has been swept.
1 | while 2math.pi - angle >= 0.001: |
Combining all together
1 | import math |
You may try and run this script after selecting a brush tool.
Here is a Demo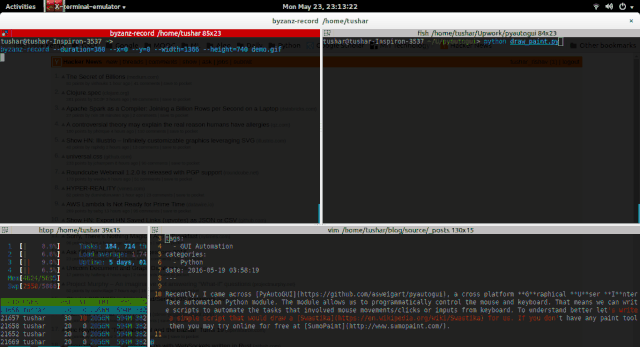
Please note that this was only a brief introduction to GUI automation using Python. PyAutoGUI also provides a bunch of other functions like to perform hotkeys operations (Ctrl + c for copy) etc.
If you find this module interesting you should check out its documentation.
Cheers!